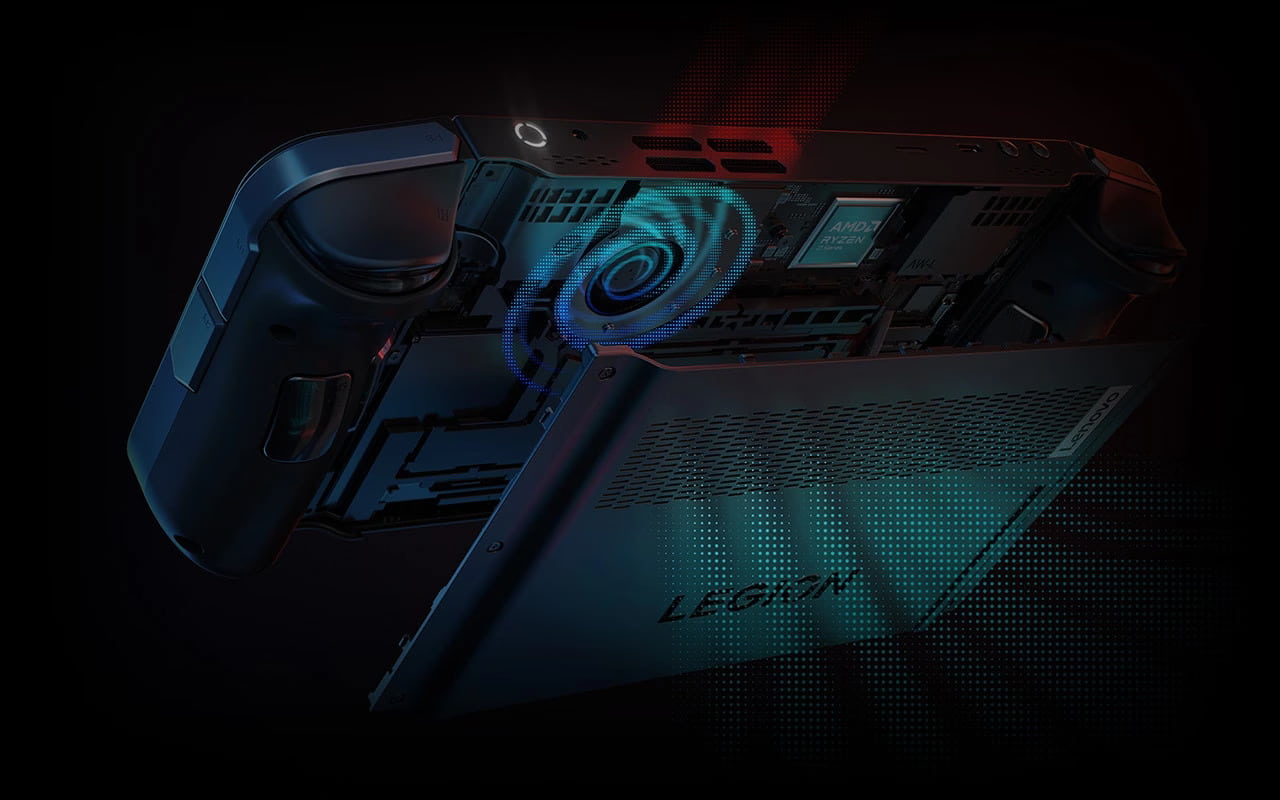
Lenovo came out with its answer to Valve’s Steam Deck earlier this year, calling it the Lenovo Legion Go. Valve came out with its handheld gaming platform, the Steam Deck, back in 2022. Upon release, the website immediately crashed due to the immense traffic, and it went on to sell millions of units. It is safe to say that the Steam Deck was a massive success. To make it more lightweight, Valve decided that their Steam Deck would use a Linux-based custom operating system. However, Lenovo decided to go with classic Windows for their Legion Go. It features a 2560×1600 resolution display, with some models even having a 144 Hz refresh rate. Although the Legion Go is pretty beefy, it often leaves players wondering if there is a way to change the VRAM size on the Lenovo Legion Go. So, if you are wondering about the same, here’s everything you need to know.
VRAM stands for Video Random Access Memory. It is volatile storage (memory), any part of which can be accessed randomly (at any given instant), dedicated to storing things like game textures that the GPU requires. While running a game, for example, the GPU needs access to certain textures very quickly and repeatedly. Storing them in memory near the GPU chip itself is quicker than, say, in mass storage like an SSD. However, higher resolutions mean more detailed textures, which means more VRAM is needed to store them. You probably would not need this if you were planning to only play games like Stardew Valley, but what about AAA titles at high quality? You might be left wondering how to increase the VRAM size on the Lenovo Legion Go. So keep reading this guide until the end to find out.
Lenovo Legion Go: How to change VRAM?
To change the VRAM size on the Lenovo Legion Go, you need to enter its BIOS settings. To do this, there are a couple of methods. However, as cazas pointed out, the simplest method is to turn off the device, then hit the power and volume up buttons simultaneously. This should open a menu screen on the device, where you should be able to see an option called ‘BIOS Setup’. Click on that, then More Settings > Configuration > UMA Frame Buffer Size. This should have a drop-down menu next to it. Using this menu, change the VRAM to your desired setting. Then, from the sidebar, select Exit > Exit Saving Changes > Yes. The Lenovo Legion Go should now restart with the VRAM change in effect. Remember, more VRAM does mean more memory for your GPU, but keep in mind that it is just re-allocating the memory that would normally be used for other tasks. So more VRAM here does not necessarily guarantee better performance. Rather, it is a delicate balancing game.
So, we would not recommend you do this if you do not know what you are doing. Messing with the BIOS configuration can lead to issues like instability, crashing, and so on. Nonetheless, if you did try it, enjoy the experience. And, for more such informative guides, consider checking out Android Gram. Also read: Lenovo Legion Go not booting up: How to fix it?


