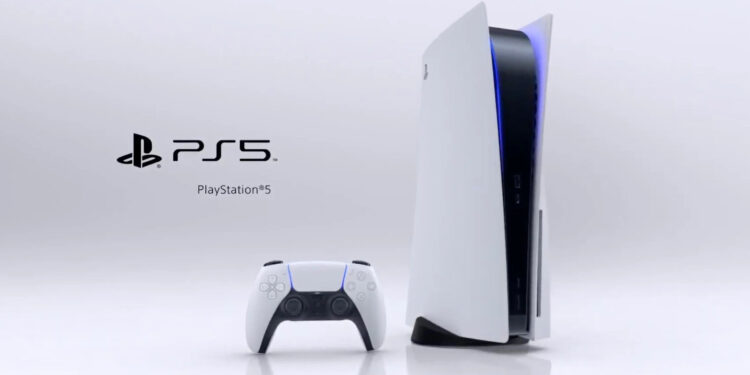
Struggling with the PlayStation Network sign-in failed on PS5 error? Then you, my friend, are at the right place. A lot of folks have been unable to play games on their Playstation 5 due to this issue. The console throws this error and does not log you in. Without login in, you are unable to access your profile or play the games on your PS5 console. There are several reasons why your console might be giving this error. Fortunately, in this article, we have some solutions that will help you get rid of this issue. So, make sure to stick with us till the very end.
What are the probable causes?
As we said before, there are a few reasons why you might be getting the PlayStation Network sign-in failed error. We have listed all the reasons below. You can cross-check if your console is facing any of these conditions. Once you identify the reason, we can head over to the solutions.
1) PlayStation servers might be down.
2) Your internet connection might be acting up.
3) Your login credentials are wrong.
4) Your IP got banned.
| Also read: How to fix the PlayStation App not working issue?
PlayStation Network sign-in failed on PS5: Fixes & Workarounds.
Now that we know some of the reasons, let us start with the solutions. We have mentioned all of them below for you to try. You will also find some general troubleshooting methods that will come in handy. So without any further ado, let us begin.
1) Restart your PlayStation 5.
2) Next, make sure that you have a stable internet connection. Using an Ethernet cable is the best option.
3) Now, double-check your credentials.
4) Make sure that your PS5 is up to date. You can check this by going to Settings> System Software Update> Update Now.
5) Check whether PS5’s servers are up and running. You can check the server status on PSN Service Status.
6) You can also try disabling the Media Server Connection. To do this, go to Settings> Network> Media Server Connection.
7) Rebuilding the PS6 database might also help you out. To do this, turn off your console. Now, press the power button for around 8 seconds. Next, connect your controller via a USB cable and then press the PlayStation button. Now, select the rebuilt database option and press X.
8) Now, let’s change the DNS settings. For this, go to Settings> Network> Internet Connection Setup. Select your internet connection and click on Custom, and then set the IP Address Settings as Automatic. Next, go to DHCP Host Name and select Do Not Specify. Now, select Manual under DNS Settings and enter Primary DNS as 8.8.8.8 and Secondary DNS as 8.8.4.4. In the MTU Settings, select Manual and set the value to 1456. In the end, select Do Not Use under Proxy Server and close the settings.
9) In the end, if nothing else works, reset your PlayStation 5 console.
Well, this brings us to the end of this article. We hope that you found it helpful. Stay tuned to Android Gram, and happy gaming.


