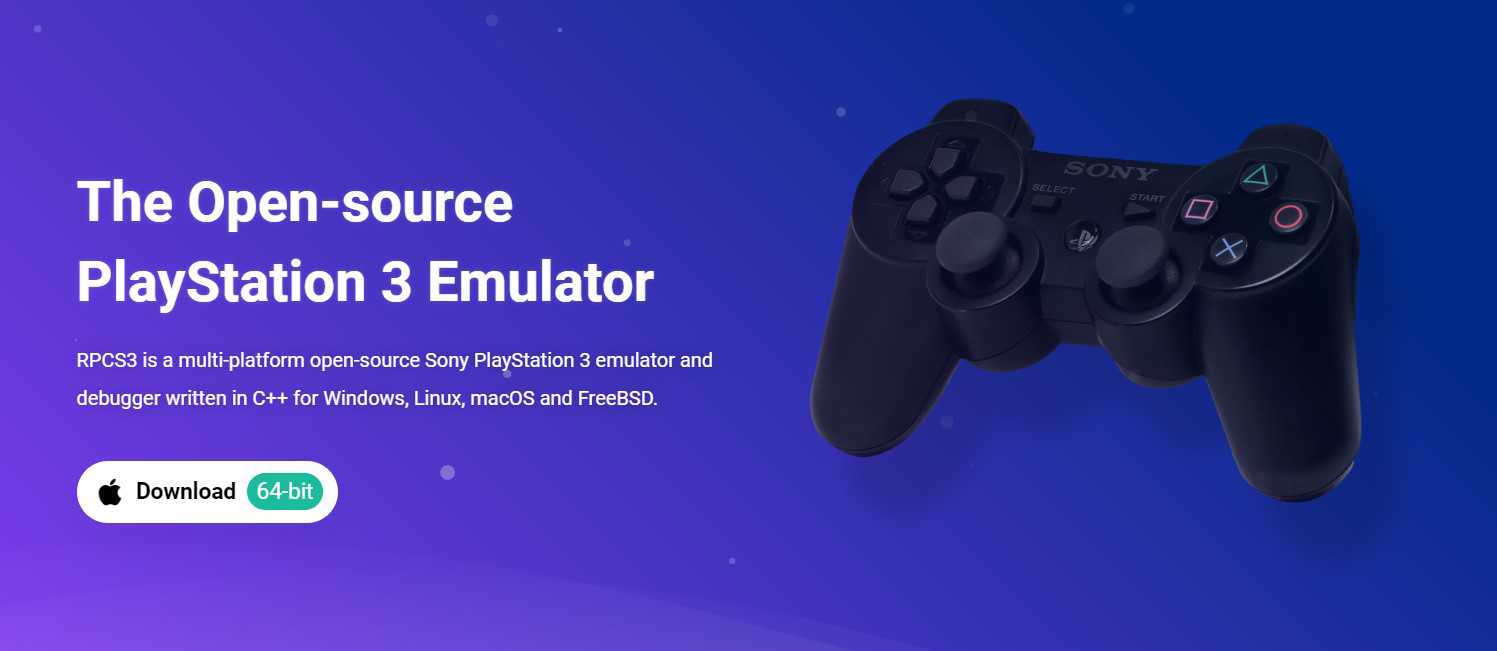
Emulating a console on a PC is not as simple as it sounds. This is because a console and a PC are two inherently different machines and are built for different purposes. Console’s only focus is to run games. On the contrary, PCs are built for a much more versatile user profile. Hence, PCs can do a lot more things than just gaming. The building structure, input methods, and core utilization of a PC and a console are very different from each other. Therefore, emulating a console on PC comes with its own set of challenges for both the developers and the users. However, with time and efforts of the developers, it was made possible and a PS3 emulator called RPCS3 was developed. In this guide, we will be sharing all the details on how you can use a keyboard and mouse to play PS3 games on the RPCS3 emulator without the need for a controller. So, stick around till the end for more details on the same.
Also read: Cut The Rope 3 Release Date: When it will be available
RPCS3 Keyboard and Mouse Setup: How to Play PS3 Games without a Controller
Setting up a keyboard and mouse in RPCS3 is important because many players don’t own a controller or don’t want to go through the process of setting up a controller for RPCS3 which is far more complicated than setting up a mouse and keyboard. If you are also one of these users, don’t worry because you have come to the right place.
The first thing you need to know is that manually setting up keyboard-mouse controls is not required for every single game that you will be playing on RPCS3. This is because some games support the mouse-keyboard setup by default. Therefore, you will just have to enable that configuration.
However, it is also true that many games might be PS3 exclusives, therefore you will have to configure the setup manually. Now, to play these games with a keyboard-mouse setup, you will have to bind the sticks and buttons of a gamepad to your keyboard and mouse-specific inputs. So, without further ado, let’s discuss both of these methods:
Activating the native keyboard mouse setup:
If the game already supports a keyboard-mouse setup, you will have to follow these steps:
- Go to the settings menu of the game.
- Now, open the I/O tab.
- At the bottom, set the option that says “Mouse Handler” to Basic.
Mapping the keys:
If the game doesn’t support a keyboard-mouse setup, you will have to follow these steps:
- Open RPCS3 on your system.
- Next, make sure that the Mouse Handler option in the I/O tab is selected as null.
- Now, select the Pads setting.
- After that, select the controller that you want to map by choosing the Player number.
- After this, open the drop-down menu that says “Handlers” and select the “Keyboard” option.
- Now, you will see different button names along with left and right analog steps.
All you have to do is click on the button that you want to map and then select the button that you want to assign that button or stick to. For example, for the “Up” function in Left Analog-stick, you will have to select it and left-click on it. After that, you can assign it to “W” or “up arrow” by pressing those buttons on your keyboard.
If you want to assign mouse moments, you will have to go under the “Right analog” option. After that, you will have to press the left click and while keeping it pressed, move your mouse in the forward direction. You can do this for the remaining three directions. After doing so, tweak the Mouse Acceleration and Mouse Deadzone settings as per your preference. On this note, we hope we were able to help you today. Also, do not forget to visit Androidgram for the latest updates in the world of tech and gaming.


