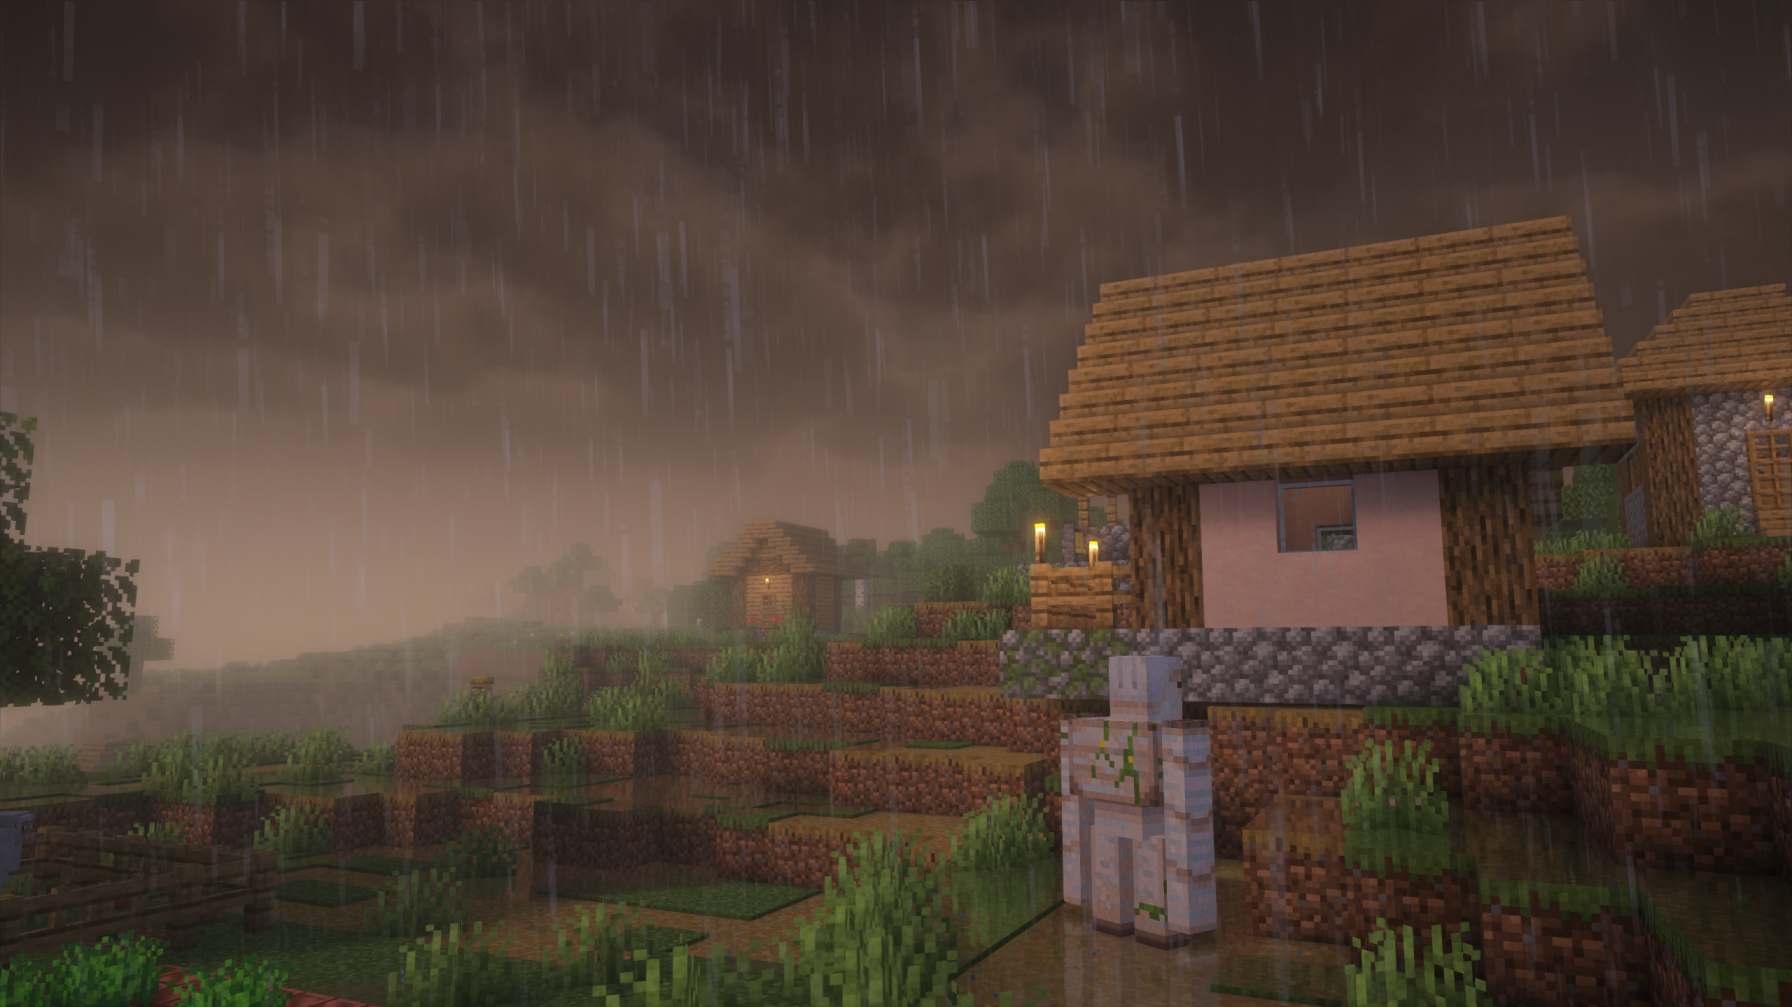
In this article, we will talk about the Iris Shaders for Minecraft Java Edition. Minecraft always had the biggest community when it came to community-made mods and improvements. In our recent articles, we covered how to install Optifine in the game, which also allows you to install various mods, and now we have expanded this list by sharing a guide on how to install Iris Shaders in Minecraft 1.20.2. The installation process is a bit different than Optifine, but don’t worry, we have made it simpler and easier to understand for everyone.
Iris Shaders allows you to apply various effects and depth to your Minecraft world. It includes lighting-related features like gloom, reflections, and light intensity. Iris Shaders takes these features into consideration and provides an enhanced world to look at. If you are too excited to install this mod in Minecraft 1.20.2, here’s everything you need to know.
Minecraft (1.20.2): How to Download & Install Iris Shaders?
Prerequisites
There are a few things that you must sort out before heading onto the actual installation. Here’s the list of everything relevant:
- The first thing is Minecraft, which is pretty obvious. Make sure you have the latest version of Minecraft installed.
- Download Iris Installer via this link.
- Download shaders for the Iris Installer via Modrinth or Curseforge. If you don’t know which shader to use, then simply download the top 4 shaders and then decide which one suits your needs. To download, simply click on the particular shader, head to the Versions/Files tab, choose the latest version, and click on Download.
- Next, you must have Java installed as well. If you don’t know how, check out our Optifine with Forge guide, which also mentions the installation process of Java in detail.
Note: Iris Shaders won’t work in an already-created world in Minecraft. You must make a new one for it to be used in the game. Also, if a shader shows support only for an outdated version like 1.20.0, don’t worry; most will still work on Minecraft version 1.20.2.
How do you install the Iris Shader Mods in Minecraft 1.20.2?
Now that you have all the required items in place, copy all the downloaded shaders and the Iris Shader mod file to your desktop. This way, it’ll be easy to navigate. Anyway, here are the steps you need to follow:
- First, find and right-click on the Iris Shader file and select the “Open with” option.
- Now, choose Java and wait for the Iris Installer window to appear.
- In the newly opened window, make sure that it’s set to the required Minecraft version. In your case, it’s 1.20.2. After this, set the Install Type to Iris Install.
- Then, simply press Install, and within 2 seconds, the process will be completed. This process also installs Sodium, which is necessary to run the mod.
- Now, open the Minecraft launcher and select the Installations tab.
- Here, make sure to select the Modded box under Versions. Now, you should be able to view the Iris & Sodium version. Select it, and press Play. This will create a new Minecraft world.
- Now, once the world is loaded and you are in the main menu of Minecraft, click on the Options button. Next, click on Video Settings, and then tap on the Shader Packs option present at the top.
- Now, in the Shader Pack Selection menu, click on the Open Shader Pack Folder option.
- After this, move all the downloaded shaders from Modrinth or Curseforge from the desktop into the newly opened File Explorer window.
- Once you do this, you will see your shaders appear in the shader selection menu inside Minecraft.
- Choose the one you like and press Apply. You can even set various Shader Settings to enhance the in-game experience as per your preference.
This was our complete guide on downloading and installing Iris Shader and Iris Shader mods in Minecraft 1.20.2. Follow Android Gram for more exciting Minecraft-related guides like this one. Also read: Minecraft: How to recover deleted worlds


