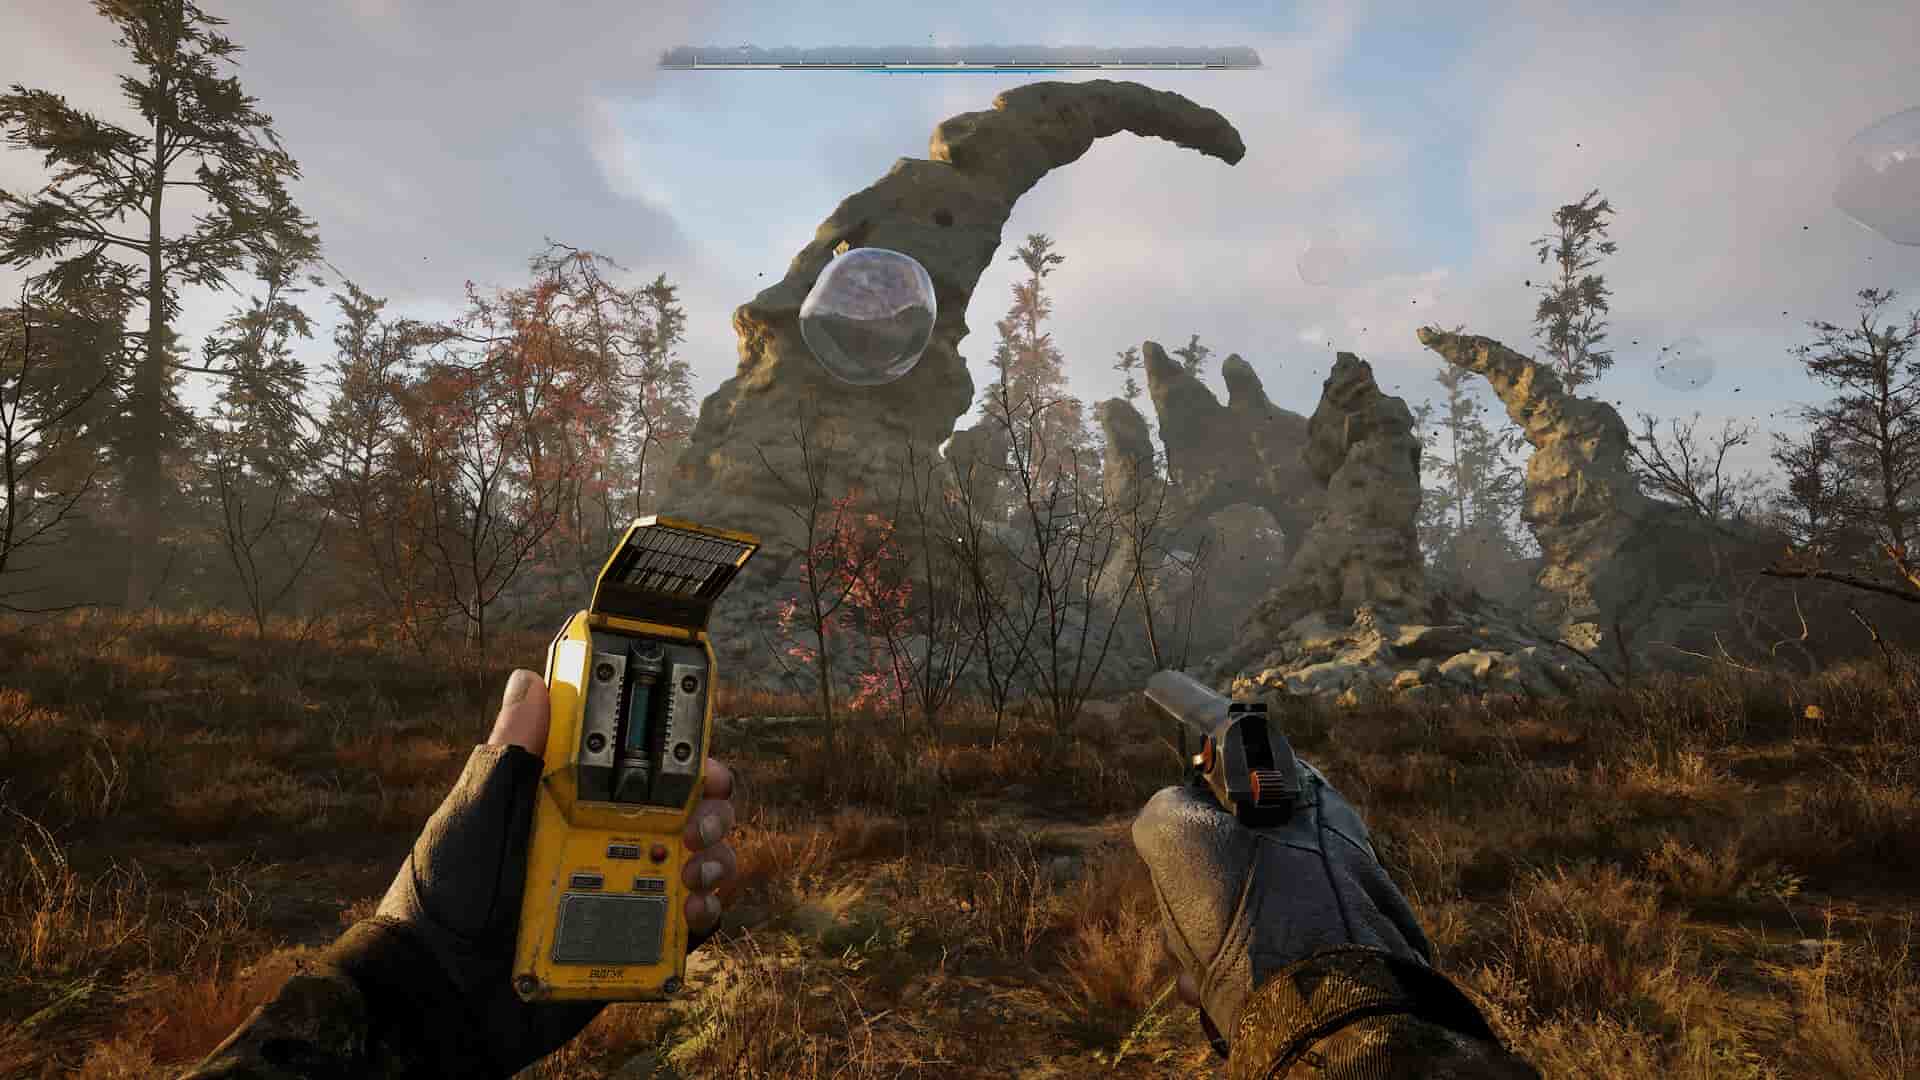
While the Steam Deck can run Stalker 2 barely at 30 FPS, it isn’t an ideal experience given that it is a first-person shooter. Coming to the Rog Ally and Legion Go, these are fairly new handhelds and have better hardware; still, they struggle to maintain a stable FPS while running Stalker 2. So, from this, you can get an idea about how resource-hungry Stalker 2 is. At its current state, you won’t be able to play the game on your Deck peacefully without some optimizations at your end. So, in this guide, we have shared details regarding how to download and install a Frame Generation mod for Stalker 2 Heart of Chornobyl that will boost the in-game FPS by downgrading the visuals. Well, if you are ready to compromise visuals for performance, this is just the guide you need.
On the Deck, you get AMD’s FSR upscaling method that comes quite handy in getting a slight boost in in-game FPS. While FSR does improve FPS in the game on your Deck, it surely isn’t enough for some players. So, to further boost the in-game FPS, you can use the DLSS Enabler mod by artur-graniszewski. For detailed steps on how to download and install it, continue reading.
Also read: Stalker 2 Heart of Chornobyl Steam Deck, Asus Rog Ally, & Lenovo Legion Go Support Details
Stalker 2 Heart Of Chornobyl Mod to get High FPS: How to download & install on Steam Deck
First off, let’s start with downloading the mod file. For this, head over to the official Github page of the mod by clicking here. Alternatively, you can click here to directly download the mod. Once downloaded, now it’s time to install it. Follow these steps for the same:
Mod Installation
- After downloading the mod, go to the mod folder and then select the .exe file. Now, right-click on it, and select the Add to Steam option. Now, before heading over to Steam, create a new “DLSS” folder in the same directory.
- Well, open Steam next, and then in the Library, find the DLSS-Enabler-Setup-3.02.000.0.exe option. Select it, and then right-click on it. After this, tap on Properties, and then go to the Compatibility tab. Here, checkmark the Force Proton Use option and then select Proton Experimental.
- Next, go back to the main DLSS Enabler Page on Steam and select Play. A new pop-up window will appear. To initiate the installation process, select the I Agree option, and then Next. In this window, you will see the directory in which the installation will take place. What you need to do is select the Browse option, and then go to the Z Drive>Home>Deck>Downloads>DLSS. Select the DLSS folder for mod installation. This is the same folder that you created in the first step. After this, press Next.
- In the next window, make sure that the following are selected:
- Install Main DLSS Enabler Files
- Install as a version .dll file
- Enable support for AMD and Intel GPUs
- Install Nvidia Runtime Files in the game directory
- Once these are selected, click on Next and then on Install. After the process is complete, an error will pop up. Just select Ok.
Enabling the mod
- After the mod installation is over, you are now required to add it to the game. For this, open Steam, go to Library, and right-click on Stalker 2. Now, in the General tab, make sure the following launch command is added in the Launch Options textbox: WINEDLLOVERRIDES=”version=n,b” %COMMAND%
- Once this is added, you have to select the Installed Files tab and tap the Browse Local Files option. This will take you to the Game Installation folder. After the directory is opened, minimize it and then access the directory in which you downloaded the mod. Here, you will find a .zip file with the Upscaler Updates. Extract the contents of this folder, and then enter the Upscaler Updates folder.
- Now, copy the nvngx_dlss.dll file. Next, access the game installation directory and follow the given path: Engine>PlugIns>Marketplace>DLSS>Binaries>Thirdparty>Win64. Here, paste the copied content. Make sure to select Overwrite if prompted.
- Next, go back to the mod download folder and access the contents of the DLSS folder created. Copy all the contents of the DLSS folder. Now, access the game installation directory, go to the Stalker 2 folder, then the Binaries folder, and then the Win64 folder. Here, paste the copied content. There should be a total of 22 copied items. Again, press Override if prompted.
- After this, go back to the mod download folder, select the Upscaler Updates folder, and copy all the contents of it. Next, head back to the game installation folder, select Stalker 2>Binaries>Win64, and then paste the same.
Final Step
- The final step is all about deleting the old nvngx.dll file and replacing it with the latest one. For this, in the same Win64 directory, find the nvngx.dll file. Right-click on it and select Move to Trash. After this, find the nvngx_dlss.dll file. Right-click on it and select Rename. You have to rename the file as this: “nvngx.dll”.
- Once this is done, you are all set to enjoy Stalker 2 with high in-game FPS. But before that, make sure to access the in-game settings menu and select the Upscaling Method as DLSS and Upscaling Quality as Ultra Performance. Next, Ray Reconstruction should be enabled along with DLSS Frame Generation.
Now, you should be getting close to 45-50 FPS in Stalker 2 on your Steam Deck. If you want a more detailed guide on which settings to choose for the best FPS in the game, consider reading this guide. But do note that you shouldn’t FSR 3 once this mod is enabled.
With that said, we hope that you find this guide informative. If you did, consider visiting Android Gram for more such interesting content on all things gaming.


