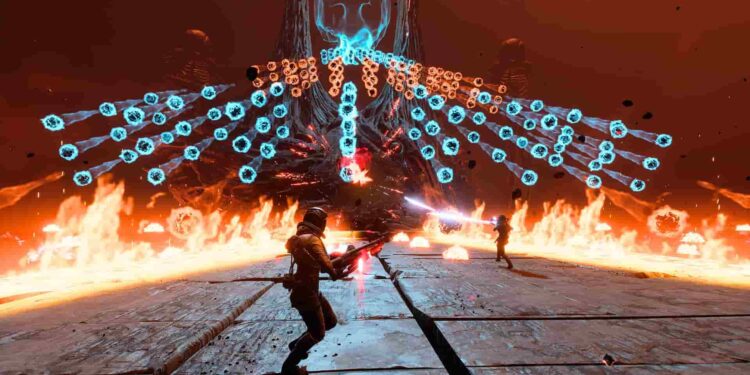
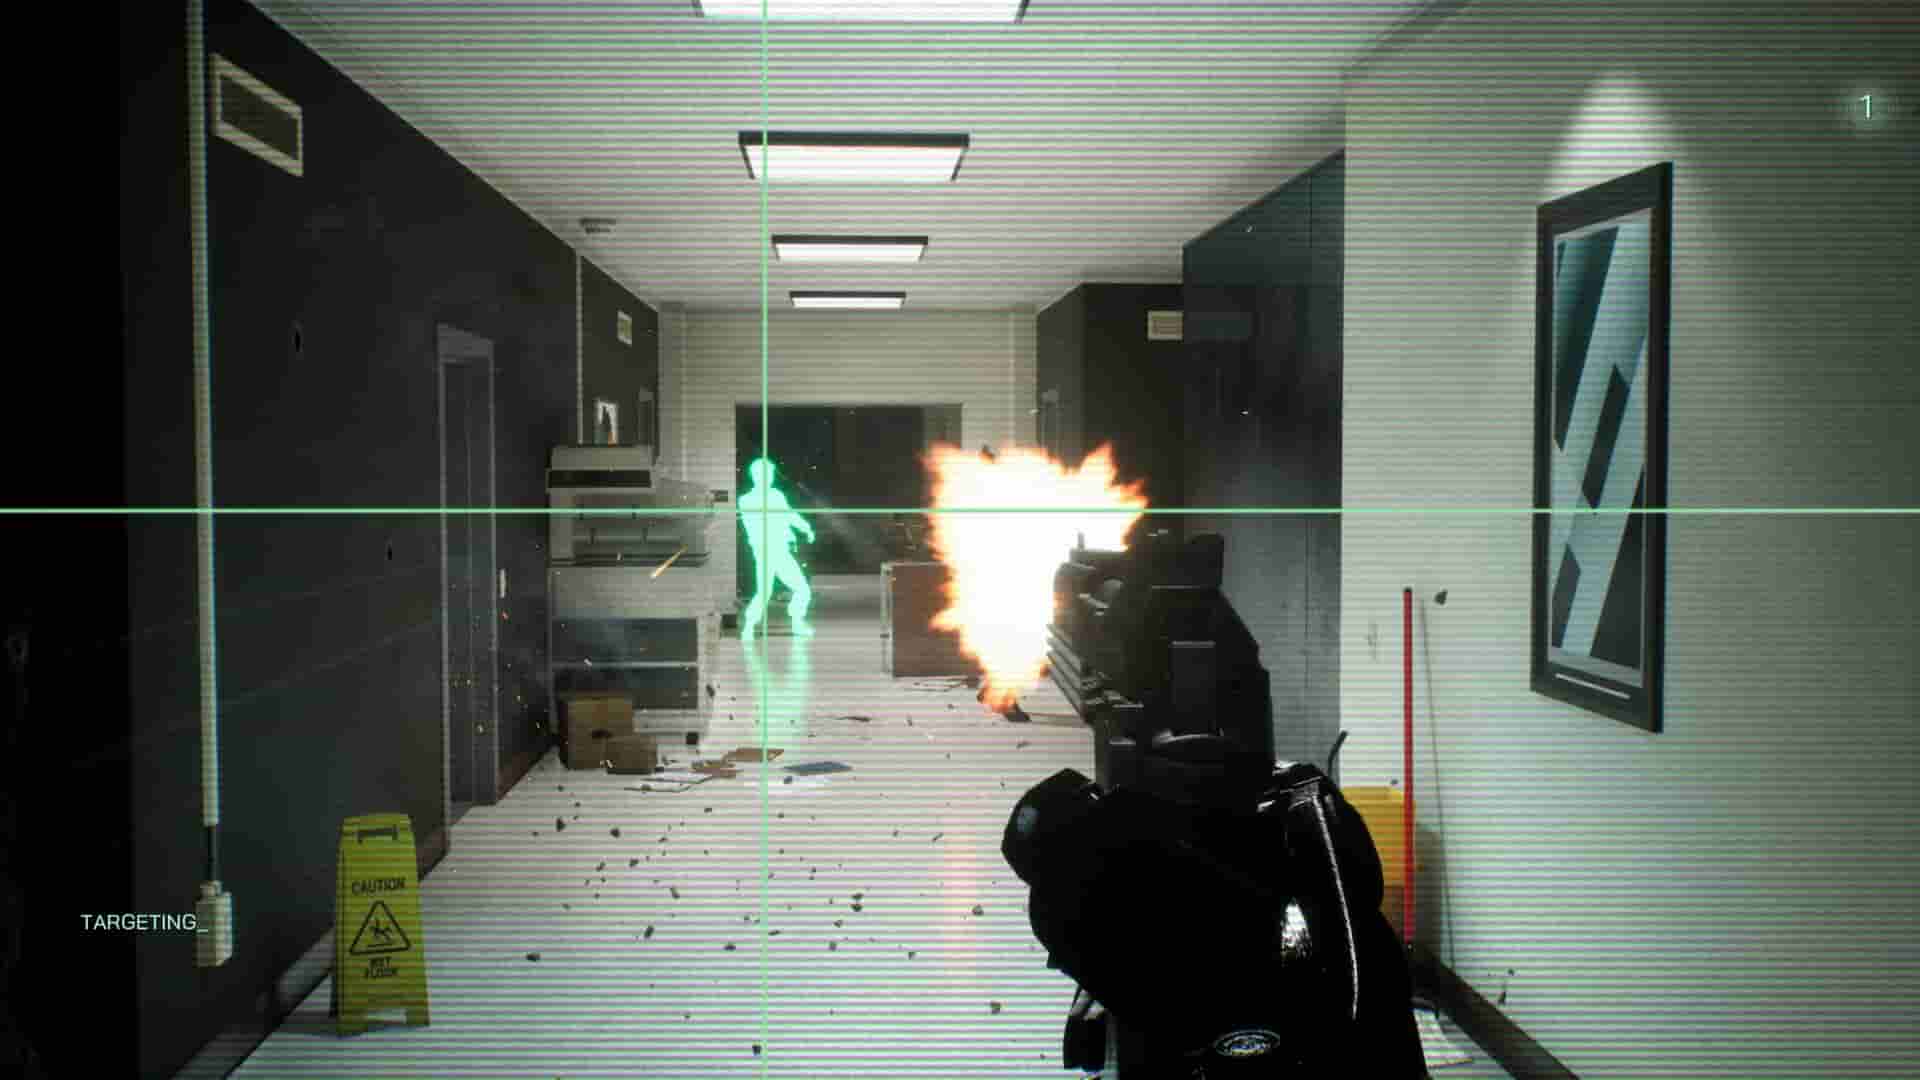
VR gaming is still something that hasn’t landed in the mainstream gaming industry, but it is slowly heading there. In fact, most new games come with VR capabilities, but as stated, not all of them are supported. However, with the recent release of Praydog’s Unreal Engine VR Mod, the PC gaming and VR gaming landscapes have taken a huge leap when it comes to running any game with native stereoscopic/6DOF VR support. But if you are new to VR gaming or even modding, it is possible that you won’t be familiar with the steps required to install and use this mod to run your favorite PC games on your VR headset. Well, if that’s the case, worry not, as we have shared this guide featuring all the details regarding the same.
Mods are one of the many perks that come with PC gaming. Almost all PC games have specific mods that enhance the in-game experience and offer something new to the players. This is one of the reasons why PC gaming is where it is now. With mods, you can experience a game from an entirely new perspective and have fun while doing so. But installing mods and knowing all the technicalities involved regarding the same isn’t something we expect every gamer to be equipped with. This is why guides exist, and this guide in particular will assist you with installing the UEVR mod on your PC. So, without any further ado, let’s get right into it.
UEVR injector mod: How to download & install it?
Installing mods in particular isn’t quite a complex process, but it sure requires some additional steps than installing a game and playing it right away. That said, we have shared all the steps required to install the UEVR Injector mod on your PC. So, follow these steps for the same:
- First, start by downloading the UEVR mod. For this, head over to this link to initiate the download.
- Once the mod is downloaded, head over to the download folder and double-click on the UEVRInjector.exe file. This is the frontend GUI Graphical User Interface of the mod.
- Now, you need to launch the game you want to run using VR on your system.
- After this, locate the game in the Process list of the mod, and make sure to select the runtime of your choice. It can be either OpenVR or OpenXR.
- Next, configure the Pre-Injection settings.
- Once done, all you need to do is select the Inject button.
And, if you want to import the configuration used for first person/6DOF motion control attachments for various games, visit here.
A few things to take care of
Here lie the complexities of using a mod. To make sure that the UEVR mod works without any issues, you will have to make sure of the following:
- Make sure HDR is disabled on your system.
- If the game you want to launch doesn’t appear on the Process list of the mod, exit the application, and then run it as an administrator.
- As suggested by the mod developer, you need to add the “-nohmd” command to the game’s command line if the game contains any existing VR plugins. If not, you can also delete the VR plugins from the game directory and then use the mod.
- Another important setting that you need to take care of is “Hardware Accelerated GPU Scheduling“. You need to turn it off after using this mod. To disable it, head over to the Start menu and type “Graphics Settings“. Now, select the first result. A new window will open featuring all Graphics-related settings. Here, you will find the Hardware Accelerated GPU Scheduling option. Once found, disable it.
- Next, make sure that applications like Rivatuner, ASUS software, Razer software, Overwolf, Discord, Steam, etc. have their overlay settings disabled. Enabling overlay might result in crashes.
- If you are trying to run a recently released game that comes with DLSS Frame Generation support, make sure that the setting is disabled in-game.
With this, you are now equipped with all the knowledge required to download, install, and run the UEVR mod. We hope that you find this guide informative. For more such interesting guides, make sure to visit Android Gram daily. Also read: Ancient Dungeon VR: How to play multiplayer?


