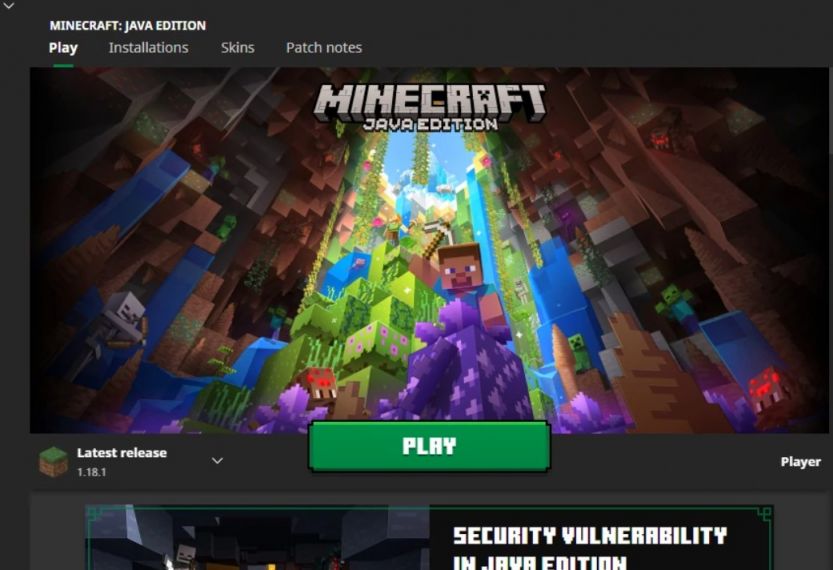
Unable to install Minecraft Launcher from Microsoft Store? The Minecraft Launcher is free to download/install and lets you manage all your Minecraft video games. However, installing apps from the Microsoft Store can become quite a task when there’s an internal bug/issue. As a result, many users are trying to download Minecraft Launcher but are greeted with an error code 0x87e00017 instead.
If you are facing the same kind of trouble, we have jotted down all the fixes and workarounds you will need. Cons? This troubleshooting process is very long! Hang in there, and we are sure you will be able to fix the error code 0x87e00017 in no time.
Minecraft Launcher on Microsoft Store giving error code 0x87e00017: How to fix it?
Try these fixes and workarounds:-
1) Make sure your system’s date and time are set correctly. Also, select the right region.
An incorrect date and time on your system can cause apps to read data incorrectly and throw error codes like 0x87e000017. If you are unable to download the Minecraft launcher on your system, check your system’s date and time. If needed, visit Date & time settings to set the correct ones. To set region, visit the Language & region settings on your PC.
2) Logout from Microsoft Store and log back in.
If you have bought Minecraft on Microsoft Store, try re-login. Log out from the Microsoft Store app and close the app. Now, relaunch the Microsoft Store app and log in using your credentials. Once done, try downloading the Minecraft launcher.
3) Check whether you are using a metered connection.
A metered connection setting is used to keep a check on your data usage. However, turning it on can cause issues with downloading the Minecraft launcher. You can disable metered connection (if enabled) from Windows Settings > Network & internet > Ethernet or Wi-Fi > Turn off Metered Connection. Make sure you choose the correct network – the one you are using – be it WiFi or Ethernet.
4) Open Windows Powershell and run a few commands as mentioned below.
Search for Windows Powershell, right-click on it, and select Run as administrator. Type each command and hit the Enter Key before typing the next one. Make sure you type all five of them:
Ipconfig /flushdns
Ipconfig /release
Ipconfig /renew
netsh winsock reset
netsh int ip reset
The above commands will reset all network settings and fix the issue if the problem lied within your network.
5) If flushing DNS or network settings doesn’t work, run the following snippet in Windows Powershell.
Firstly, copy the entire code snippet from below. Search for Windows Powershell, right-click on it, and select Run as administrator. Now, right-click on the upper white taskbar of Powershell and select Paste.
Code Snippet
$Packages = get-item ‘HKLM:\Software\Microsoft\Windows\CurrentVersion\Appx\AppxAllUserStore\Applications’) | Get-ChildItem
$PackageFilter = $args[0]
if ([string]::IsNullOrEmpty($PackageFilter))
{
echo “No filter specified, attempting to re-register all provisioned apps.” }
else
{ $Packages = $Packages | where {$_.Name -like $PackageFilter}
if ($Packages -eq $null)
{ echo “No provisioned apps match the specified filter.”
exit }
else
{ echo “Registering the provisioned apps that match $PackageFilter” }
}ForEach($Package in $Packages)
{
# get package name & path
$PackageName = $Package | Get-ItemProperty | Select-Object -ExpandProperty PSChildName
$PackagePath = [System.Environment]::ExpandEnvironmentVariables(($Package | Get-ItemProperty | Select-Object -ExpandProperty Path))# register the package echo
“Attempting to register package: $PackageName”
Add-AppxPackage -register $PackagePath -DisableDevelopmentMode
}
After you copy the entire code snippet, as above, hit Enter and let the code run. You may see error messages – don’t worry about them. Once the process completes, close the Powershell window. Open Microsoft Store and try downloading the Minecraft launcher.
5) Make sure that your OS (Windows) is completely updated.
Firstly, head over to System Settings and then open Windows Update to check for pending updates. However, if you are stuck at an update, we recommend you download the Update Assistant and then try completing your updates.
6) Try running Windows Troubleshooter for Microsoft Store.
Firstly, open System Settings and navigate to Troubleshoot > Other Troubleshooters > Windows Store apps > Run. Check for errors and follow on-screen instructions to detect any issues.
7) Reset Microsoft Store.
Open the Run Window and type ‘wsreset‘. Now, press Enter. Let the command prompt window be – it will open Microsoft Store automatically when done.
8) Try resetting Windows Update Components through this code snippet.
Firstly, copy-paste the following code snippet in a Notepad file:
Code Snippet
SC config trustedinstaller start=auto
net stop bits
net stop wuauserv
net stop msiserver
net stop cryptsvc
net stop appidsvc
Ren %Systemroot%\SoftwareDistribution SoftwareDistribution.old
Ren %Systemroot%\System32\catroot2 catroot2.old
regsvr32.exe /s atl.dll
regsvr32.exe /s urlmon.dll
regsvr32.exe /s mshtml.dll
netsh winsock reset
netsh winsock reset proxy
rundll32.exe pnpclean.dll,RunDLL_PnpClean /DRIVERS /MAXCLEAN
net start bits
net start wuauserv
net start msiserver
net start cryptsvc
net start appidsvc
Once done, open the File drop-down menu and select Save As. Type file name as ‘Wufix.bat’ and select file type as All files. Now, save the file on your desktop. Next, right-click on the file Wufix.bat on your desktop and select Run as administrator. If prompted, choose to run in Command Prompt. The commands will then be executed. If you are prompted in between, type Y and press Enter to continue the operation. The window will close automatically when complete. Once the window closes, restart your PC. Finally, you can open Microsoft Store and try downloading Minecraft Launcher again.
Also Read: Is Minecraft shutting down in 2022?
9) Restart Microsoft Store Install Services.
Open Start and search for Services. Open the Services app and look for the Microsoft Store Install service in the list. Double-click on it. Now, make sure that the Startup type is set to Automatic. If the service is stopped, make sure you click on Start (under Service Status) > Apply > OK. Close the window. With Microsoft Store Install service highlighted/selected and click on Restart the service on the top-left. Once done, perform the same restarting process with the Windows Update service. Now, try installing Minecraft Launcher from Microsoft Store.
10) Uninstall and Reinstall the Microsoft Store app.
Firstly, search for Windows Powershell, right-click on it, and select Run as administrator. Now, type or copy/paste the following command into the terminal and hit enter:
Get-AppxPackage *windowsstore* | Remove-AppxPackage
Restart your PC. Now, open Windows Powershell again as administrator and type the following command:
Get-AppXPackage *WindowsStore* -AllUsers | Foreach {Add-AppxPackage -DisableDevelopmentMode -Register “$($_.InstallLocation)\AppXManifest.xml”}
Hit enter. Once completed, you can go ahead and open Microsoft Store and try installing the Minecraft launcher.
11) Finally, use the Xbox app to install the Minecraft launcher.
You can use the Xbox app to install the Minecraft launcher too. If it doesn’t work there too, make sure that you have used the same account to log in to both Xbox and Microsoft Store app.
If you are still unable to install the Minecraft launcher, it is likely an internal problem. Please wait for a few hours or a day and try again. For more articles, stay tuned to us!


