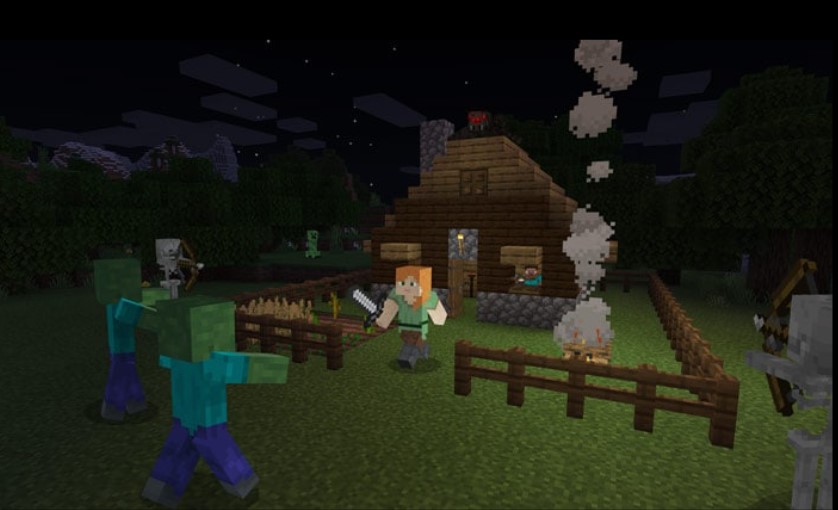
If you want to play Minecraft without any lags or FPS drops, you should have a decent PC to run the game. Well, it doesn’t look like that for a pixelated game like Minecraft, a good setup is required, but the reality is quite different. If you install quality mods to the game, Minecraft can struggle to run on low-end/medium-end PCs as the game will require more resources to run without any hiccups. Well, in such a case, if the game doesn’t detect your dedicated GPU and runs on the integrated one, things can get real choppy. So, in this article, we will be sharing details on how to fix the Minecraft not detecting graphics card issue for good. Here’s everything you need to know.
The popular sandbox game, Minecraft is struggling to run on many systems as the game fails to detect the dedicated GPU that is available. Due to this, players are experiencing choppy gameplay along with very low FPS. Anyways, this issue can be solved easily with some workarounds that we have mentioned below, so if you are interested to know more, continue reading.
Minecraft not detecting graphics card: Fixes & Workarounds
If the game fails to detect the GPU on your system, you will have to manually make sure that Minecraft uses the dedicated GPU when its launches. Here are all the details-
For Nvidia Users
1) Go to the Nvidia Control Panel and select the 3D settings option.
2) Now, head to Program Settings and click on the Add Button. Here, click on the browse button and head to this directory- C: Program Files (x86)Minecraftruntimejre-x641.8.0_25bin. Now, select the Javaw.exe file and add it.
3) After selecting the file, head below and under the Select the preferred graphics processor for this program, select High-Performance Nvidia Processor, and hit Apply. This will ensure that Minecraft uses your dedicated GPU when it is launched.
For AMD users
1) Open AMD Radeon Settings and click on the Switchable Graphics option.
2) Now, select the Installed Profile Applications and then click on Browse.
3) After this, head to the given directory- C: Program Files (x86)Minecraftruntimejre-x641.8.0_25bin. Now, select the Javaw.exe file from there.
4) Select the High-Performance option for the application.
Using Windows Settings
You can also ensure that Minecraft uses your dedicated GPU by tweaking some settings on your Windows OS.
1) Head to the Graphics Settings option in Windows Settings.
2) Now, click on the Select an app menu option and then select Minecraft from the list.
3) After this, click on the Options button right next to Minecraft and select the High-Performance mode. Now, restart your PC and the error should be fixed.
So, this was all about fixing the Minecraft not detecting GPU issue. For more such guides, make sure to stay tuned with us on AndroidGram.


